Package identity has often been a pain point for developers looking to build apps that integrate with Windows APIs. Many modern Windows features, like push notifications or the AI APIs, are gated behind package identity. For Windows apps that are unpackaged by default (like .NET console or WPF applications), this meant wrestling with package manifests, build configurations, and certs to bring your app up to speed.
With the WinApp CLI, you can quickly tackle the problem of package identity, both in the context of local running and debugging, and for packaging applications as MSIX for distribution. WinApp is compatible with any .NET desktop framework.
The WinApp CLI enables a whole host of development related features, but we’ll be highlighting two key capabilities to start:
- The WinApp CLI integrates with existing dotnet tooling to enable you to test your application with package identity via
dotnet run - The WinApp CLI makes packaging applications as MSIX easy via
winapp pack
If you want to follow along with the examples in this post, install the CLI with winget:
winget install Microsoft.winappcli --source wingetWhat is package identity and why would I want it?
Package identity is a unique identifier for your application within Windows. You can think of granting package identity as “registering” your application within the operating system.
An app that has been granted identity can more effectively integrate with the Windows platform, enabling access to Windows APIs and features that would otherwise be blocked without it. Some of the capabilities that become available with package identity include, but aren’t limited to:
- Background tasks
- Push and toast notifications
- Share target
- File handlers
- Windows AI APIs
Long story short, package identity enables a richer experience for your application on Windows.
Let’s take a look at how WinApp can make the process of granting package identity straightforward.
dotnet run with Package Identity
Once you have the WinApp CLI installed, running your .NET app with identity is easy:
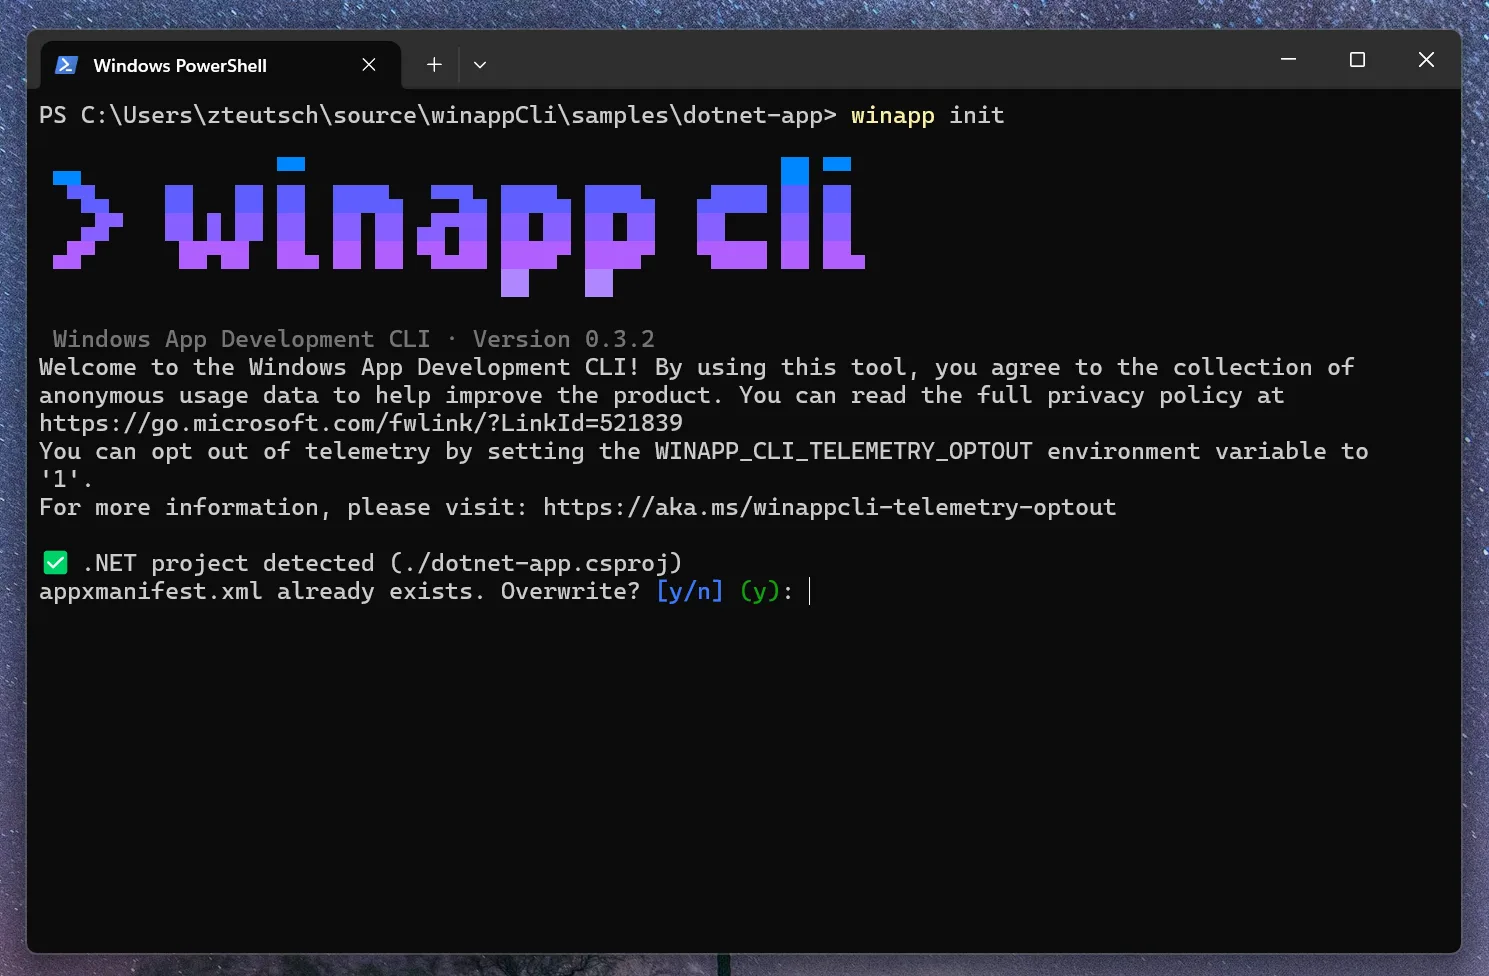
1. Initialize your project with WinApp
Run this command from the root of your project:
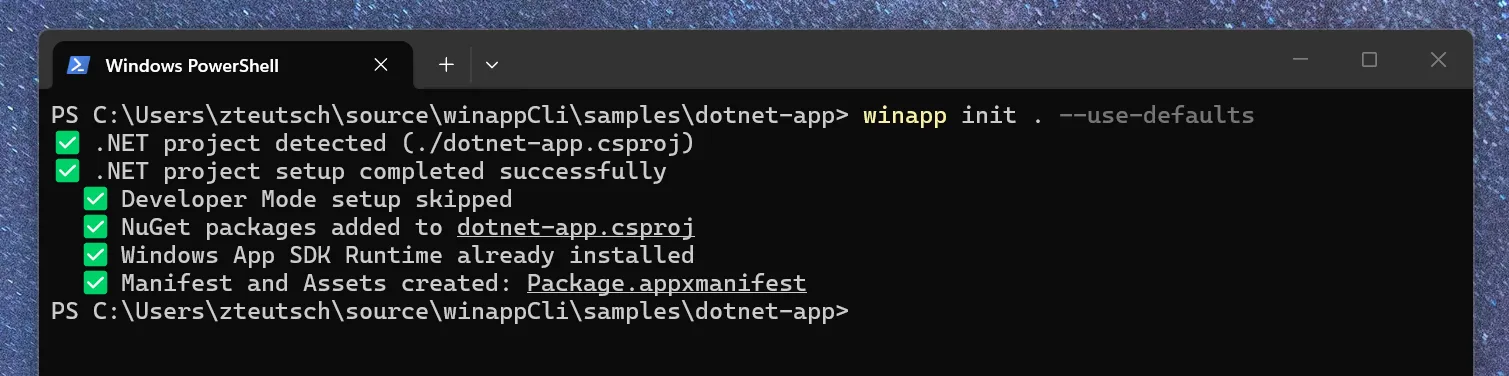
winapp init . --use-defaultsThe init command takes care of all the prerequisites for enabling identity:
- Ensures the
TargetFrameworkspecified in your.csprojis targeting a compatible version of the Windows platform. This is required to properly enable access to Windows APIs. - Adds two package references to your
.csproj:Microsoft.WindowsAppSDK— This dependency is the Windows SDK itself, and grants access to Windows APIs.Microsoft.Windows.SDK.BuildTools.WinApp— This is the NuGet package for WinApp itself. This dependency enables seamlessdotnet runusage via WinApp.
- Generates both a
Package.appxmanifestand required asset files, placed in anAssetsdirectory. These files are required to grant package identity.
If you want more control over the init experience, run without the --use-defaults flag. This will give you control over versioning, package and publisher name, and allow you to manage which dependencies are added to your project. Additionally, if you already have any of the prerequisites handled by the init command, WinApp will not overwrite them.
2. Debug with dotnet run
Once your project has been initialized with WinApp, you can run your app as you would normally:
dotnet runBecause the WinApp NuGet package is referenced by your project, dotnet run will call on WinApp to run your application. This will launch your app with package identity, allowing you to easily add and test Windows features within your app.
If you want to unregister your application and clean up any app data after launching with identity, run this command from the project root:
winapp unregisterAdditionally, if you want to disable running as a packaged application, you can add this property to your .csproj:
<PropertyGroup>
  <WindowsPackageType>None</WindowsPackageType>
</PropertyGroup>
Passing arguments to WinApp
To customize run behavior, you can pass arguments to WinApp by setting properties in your .csproj:
<PropertyGroup>
  <!-- Specify a manifest path -->
  <WinAppManifestPath>$(MSBuildProjectDirectory)customPackage.appxmanifest</WinAppManifestPath>

  <!-- Pass arguments to the app on launch -->
  <WinAppLaunchArgs>--debug --verbose</WinAppLaunchArgs>

  <!-- Launch via execution alias (for console apps needing terminal I/O) -->
  <WinAppRunUseExecutionAlias>true</WinAppRunUseExecutionAlias>

  <!-- Capture OutputDebugString + crash diagnostics -->
  <WinAppRunDebugOutput>true</WinAppRunDebugOutput>

  <!-- Register identity but don't launch (attach your own debugger) -->
  <WinAppRunNoLaunch>true</WinAppRunNoLaunch>
</PropertyGroup>
For more details on how exactly the WinApp CLI works with dotnet under the hood and for further guidance on customizing the run experience, check out the dotnet run support docs.
3. Adding an execution alias for console applications (optional)
If you are building a console application, and want output to remain in the current terminal window, you will need to add an execution alias:
- Add the required alias to your
Package.appxmanifestwith WinApp CLI:
winapp manifest add-alias- Tell your application to use the alias by opening your
.csprojand adding this property to any<PropertyGroup>:
<WinAppRunUseExecutionAlias>true</WinAppRunUseExecutionAlias>That’s it
Those two steps (or three for console applications) are all that’s required to run your application with identity locally. Your app will now be able to access Windows features and APIs (like notifications, file handlers, and background tasks) that were gated behind identity.
Now what about packaging?
Creating MSIX packages with winapp pack
The WinApp CLI provides pack and cert generate commands to streamline the MSIX creation process. Assuming you’ve initialized your project with winapp init, this is all it takes to create an installable MSIX:
- Build your application in
Releaseconfiguration:
dotnet build -c Release- Package your application with the
packcommand, specifying your output directory. Run this command from your project root:
winapp pack .binReleasenet10.0-windows10.0.26100.0win-arm64The pack command will output a signed MSIX.
Testing locally
If you need to test locally, you will need to sign your package with a self-signed certificate.
WinApp can generate certificates via the winapp cert generate command and install them via winapp cert install.
For a more in-depth breakdown for these scenarios with .NET, check out the full .NET guide.
What else can WinApp do?
Though package identity and packaging are the core of WinApp CLI right now, it has other tools for Windows developers as well. Some highlights:
- Run Windows build tools directly with the
toolcommand - Command line based inspection and interaction with UI elements with the
uicommand - Access to the Microsoft Store CLI via the
storecommand - Support for other Windows-compatible frameworks for developers that work with a variety of stacks.
Check out the Usage documentation for a full breakdown of available commands.
Don’t like the terminal? Use the WinApp VS Code extension instead
If you prefer to stay inside Visual Studio Code, and want an integrated debugging experience, we recently launched a VS Code Extension to expose WinApp CLI functionality through VS Code commands.

With some brief configuration, you can enable a “F5” debug experience, allowing you to launch and test your app from within VS Code with a button press. To enable F5 debugging via the WinApp extension:
- Update your
launch.jsonto include awinappconfiguration:
{
  "version": "0.3.0",
  "configurations": [
    {
      "type": "winapp",
      "request": "launch",
      "name": "WinApp: Launch and Attach"
    }
  ]
}- Automate the build process by defining a build task in
.vscode/tasks.json:
{
  "version": "2.0.0",
  "tasks": [
    {
      "label": "build",
      "command": "dotnet",
      "type": "process",
      "args": ["build", "${workspaceFolder}"],
      "problemMatcher": "$msCompile"
    }
  ]
}- Update the
winappconfiguration in yourlaunch.jsonto reference your build task:
{
  "type": "winapp",
  "request": "launch",
  "name": "WinApp: Launch and Attach",
  "preLaunchTask": "build"
}
Now, hitting F5 will automatically build and launch your application.
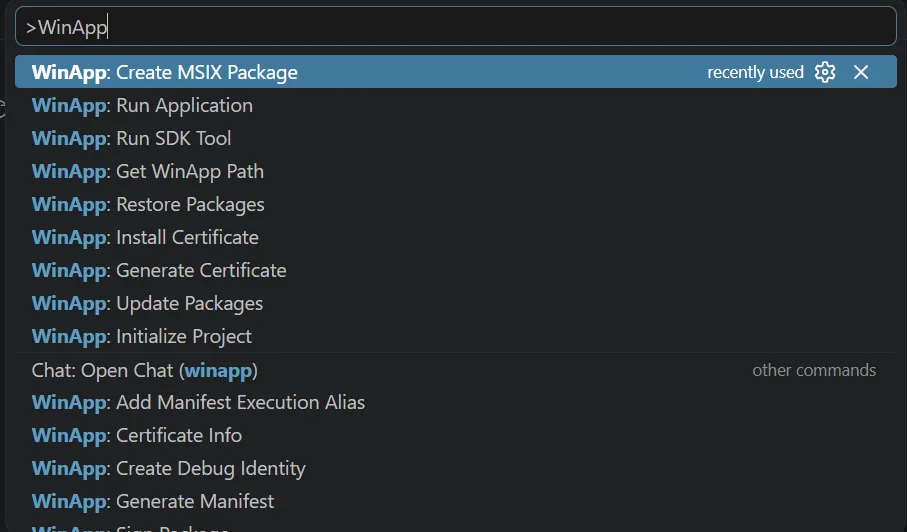
Access WinApp commands via the command palette
In addition to integrated launching, the extension also exposes much of the CLI’s functionality via the VS Code command palette. Hit Ctrl+Shift+P to open the command palette and type winapp to see available commands, including packaging and signing commands.
For more info on the WinApp extension, check out the release blog post.
Get Started
Install the CLI and try it on your next project:
winget install Microsoft.winappcli --source wingetOr if you prefer to try out the extension, visit the Visual Studio Marketplace.
If you find any issues, have a feature request, or want to check out the source for winapp, head over to our GitHub Repository.
For more getting started resources for .NET, check out the .NET guide or one of these samples:
Happy packaging!
The post Packaging and Package Identity for .NET apps with WinApp CLI on Windows appeared first on .NET Blog.